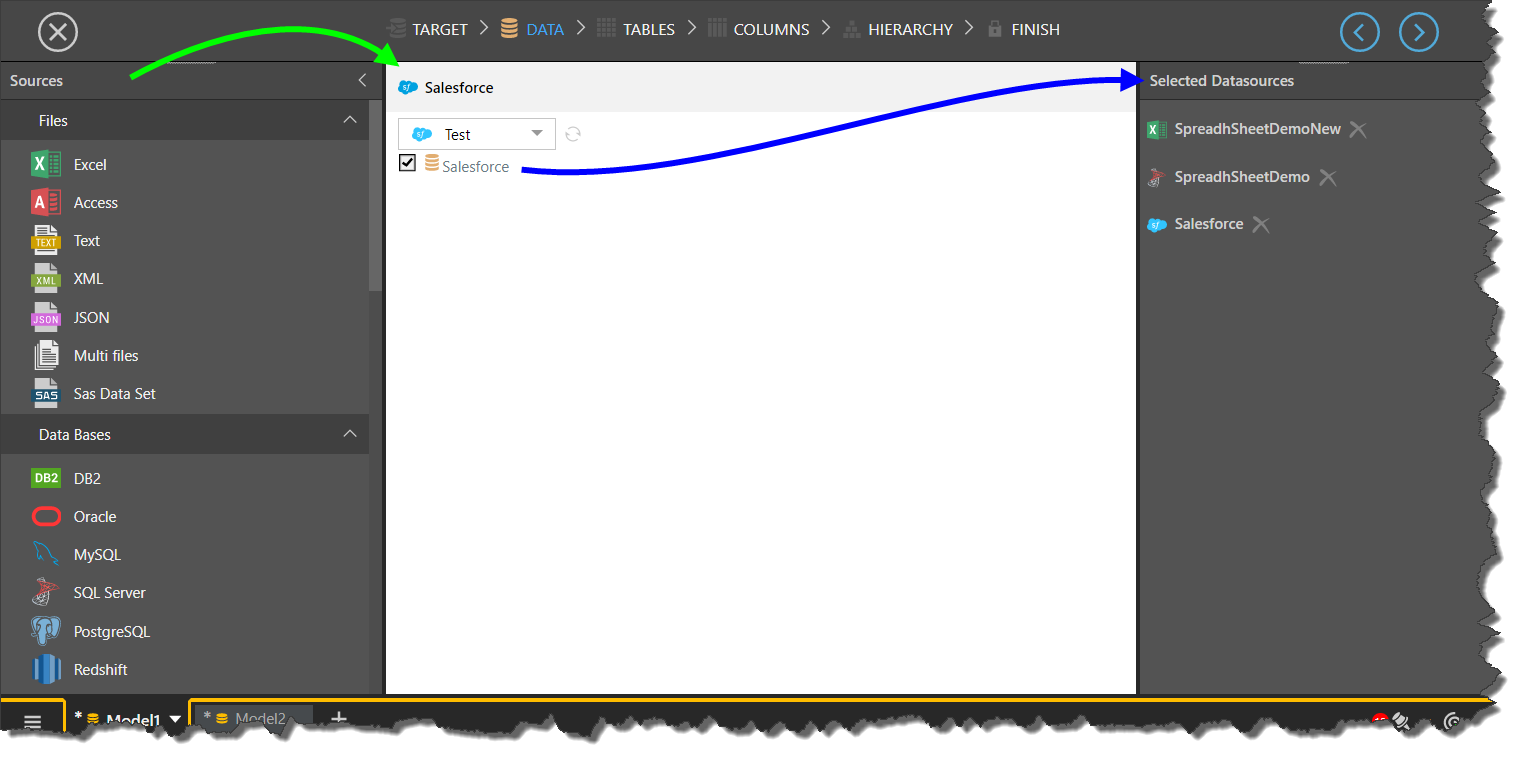
After selecting a target for your new model, you'll need to connect to your data source or data sources. This is done from the Data stage of the Model Lite wizard. Here, you can connect to a single data source or multiple data sources, and you can connect to both database and file sources.
Once you've selected a data source, it will be listed on the right in the 'Selected Datasources' panel.
- Click here to review the list of available data sources and targets.
Connect to a File Datasource
You can upload or connect to the following file types:
- Excel: upload a file, connect to a shared file, or connect to a URL.
- Access: upload a file or connect to a shared file.
- Text: upload a file, connect to a shared file, or connect to a URL.
- XML: upload a file, connect to a shared file, or connect to a URL.
- JSON: upload a file, connect to a shared file, or connect to a URL.
- Multi Files: connect to multiple files via a shared folder path. You can connect to Text, JSON, XML, or Excel files in this way.
- Sas Data Set: upload a file, connect to a shared file, or connect to a URL.
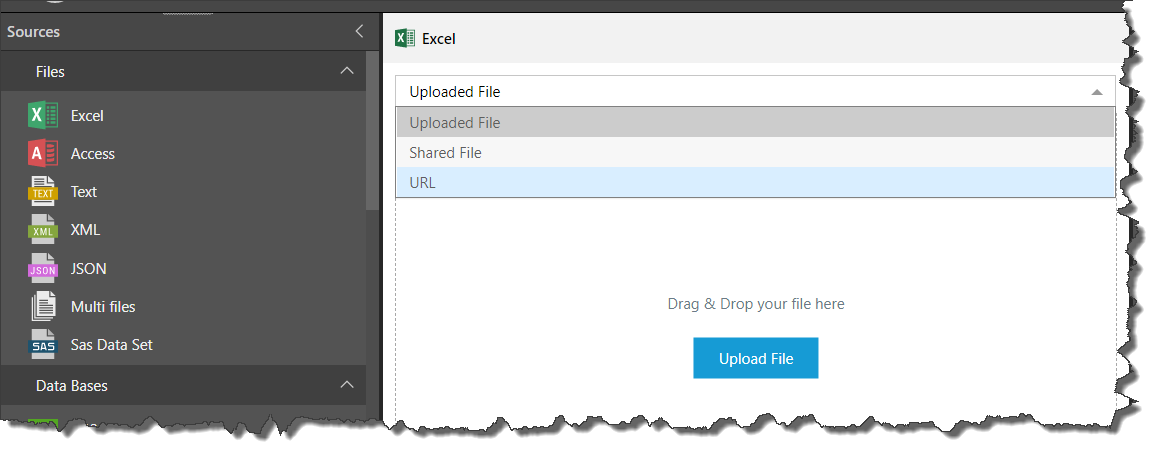
Upload a File
To upload a local file, drag and drop the file from its folder location onto the canvas. Alternatively, click 'Upload File' and find and select the file from its folder location.
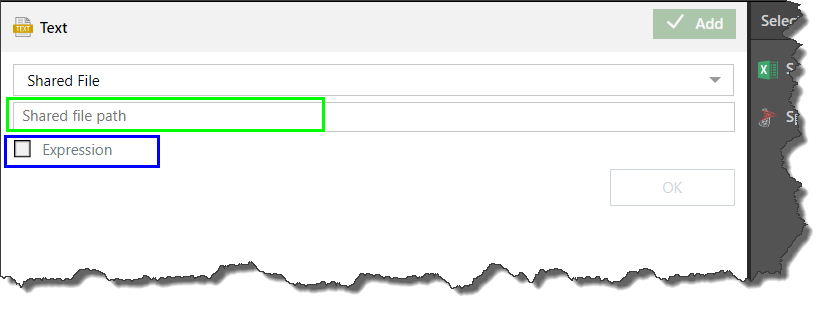
Connect to a Shared File
You can provide a pointer to a shared file, rather than uploading the file into Pyramid. When the model is processed, the file is read and included in the model.
To connect to a shared file, enter the shared file path the in the appropriate field (green highlight below). The shared file must use a UNC file path format to the shared directory and file on the network. The machine hosting Pyramid must have access to the shared file location. If the Pyramid services are running on different machines, the Runtime and Task Servers must be given access to the shared file location.
You can enter a dynamic folder path by enabling the 'Expression' option (blue highlight below). In this case, the PQL button will appear in the file path field; click the PQL button to open the PQL editor, where you can write a PQL expression.
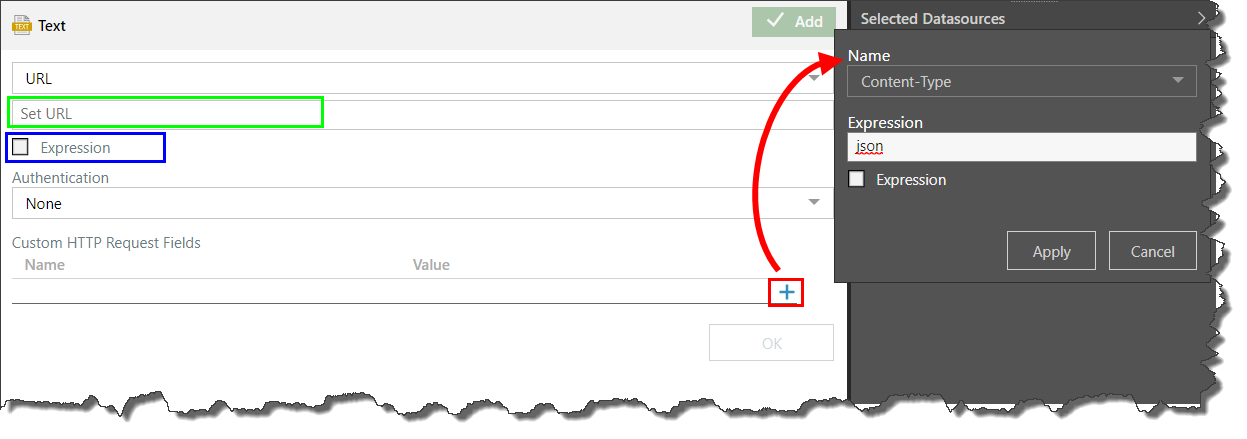
Connect to a URL
Another option is to connect to a URL, rather than uploading a file. The data will be downloaded from the URL when the model is processed.
To connect to a URL, enter the URL in the appropriate field (green highlight below). You can enter a PQL expression by enabling the 'Expression' option (blue highlight).
Next, select the required authentication type and enter the relevant credentials.
Finally, add any required HTTP request fields (red highlight). In the example below, the request field is set to 'Content-Type', and 'json' was entered in the Expression field, meaning that only JSON content will be returned. Enable the 'Expression' option to write more complex expressions in the PQL editor.
Connect to a Database
To connect to a database, start by selecting the database type. If you're connecting to a relational database, the server(s) for the selected database will appear on the canvas. If your admin has configured multiple servers for the selected type, you will need to select the required server from the dropdown list.
Once you've selected a server, you'll need to choose the required database from that server; this is the database from which the dataset will be copied.
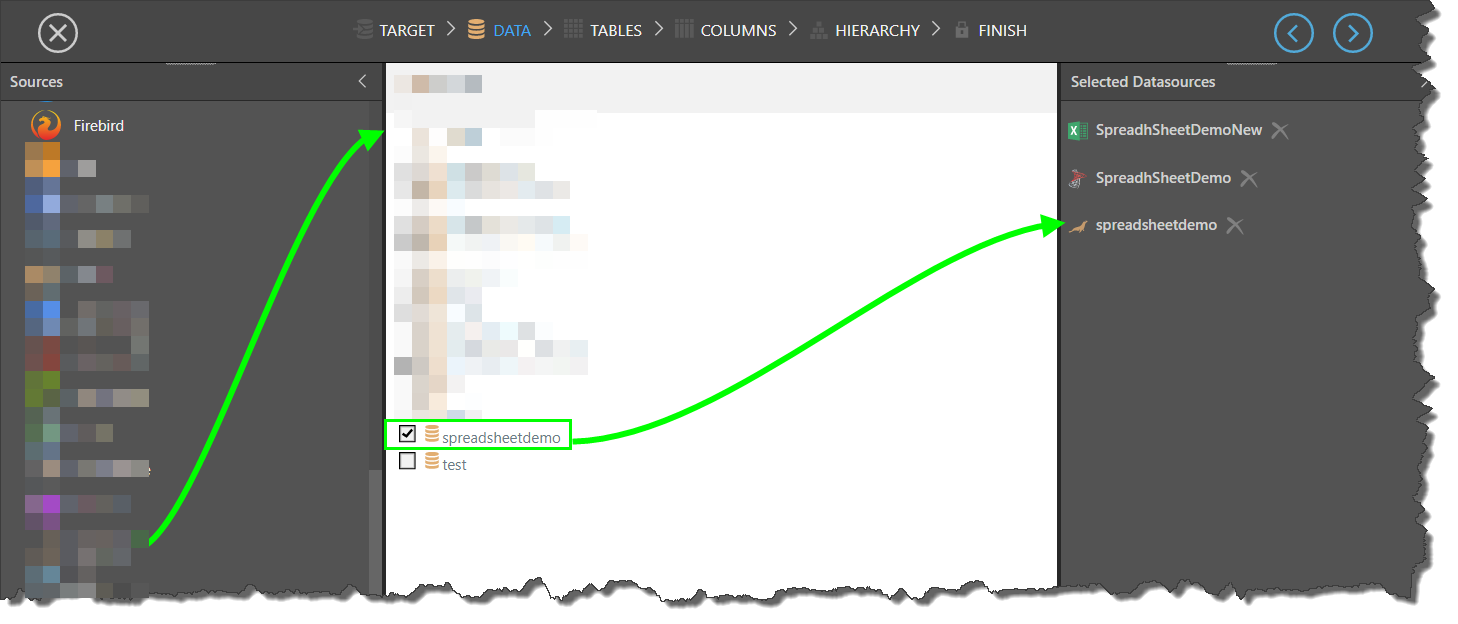
Multiple Datasources
You can connect to multiple data sources and create data "mash ups," creating a new data model from datasets from different sources. In the example above, three data sources have been selected.